7 Tips for Choosing the Best Pulse Arc Welder?
Choosing a pulse arc welder is not simply a matter of comparing wattage or buying the most expensive model. In a real workshop, the right machine must match your metals, joint designs, duty cycle, and operator skill. A compact unit may feel precise on thin stainless steel, yet struggle during long production runs. A powerful model can offer deeper penetration, but its controls may overwhelm a new user.
This guide introduces seven practical tips for making a better choice. We will examine pulse control, amperage range, duty cycle, torch comfort, cooling, interface design, and after-sales support. These details become visible at the bench: a stable arc, a clean bead, less hand fatigue, and fewer pauses. Check published specifications carefully. Independent reviews and distributor documentation can reveal limitations that marketing pages often soften.
Safety and compatibility deserve equal attention. Confirm input power, grounding requirements, shielding-gas connections, consumable availability, and relevant certification for your region. Experienced welders also test sample coupons before committing to production work. That simple step can expose arc-start problems or excessive heat input. I should admit that no buying guide can predict every workshop condition. Material thickness, ambient temperature, and maintenance habits change results. Still, a disciplined comparison reduces expensive surprises and supports more consistent weld quality. The best choice is rarely perfect. It is the machine you can control, service, and trust repeatedly.
Define Your Welding Requirements and Material Compatibility
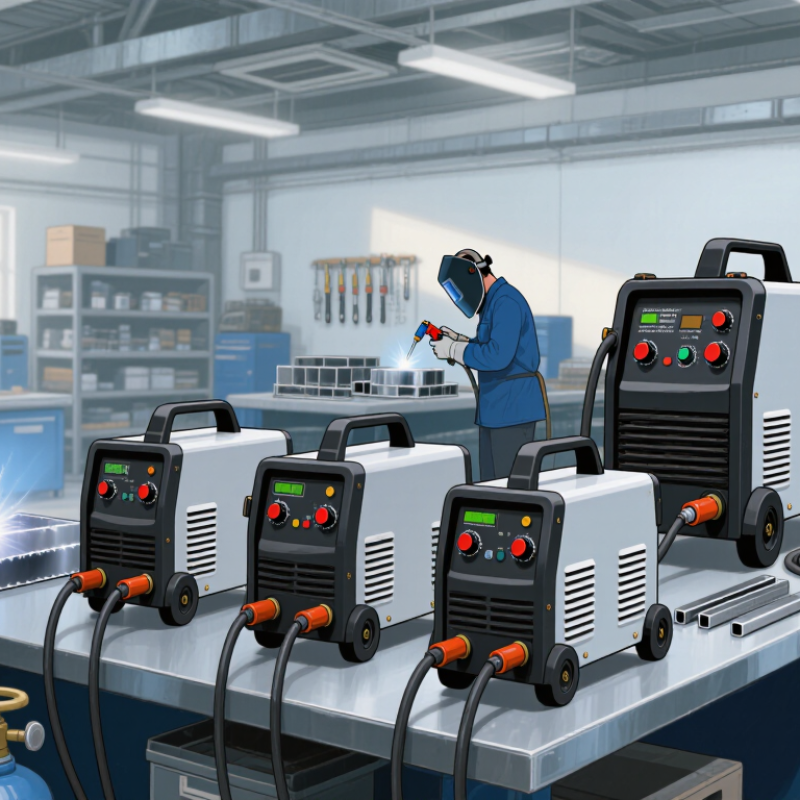
Choosing the best pulse arc welder starts with your actual welding requirements, not attractive specifications. Identify the metals, thicknesses, joint designs, and expected production rhythm. A thin stainless tube needs different control from a thick aluminum bracket. Write the details down. Consider workshop power, duty cycle, portability, and shielding gas availability. Practical shop experience shows that ignoring cable length can make a capable machine frustrating on a crowded bench.
Tip 1: Match the process to the material. Confirm that the welder supports your metals and their thickness range. Aluminum often demands stable pulse control and suitable AC capability. Stainless steel benefits from accurate heat management. Check torch connections, electrode options, and gas requirements before buying. Compatibility means more than reading a specification sheet. Test settings on scrap metal first. I once underestimated heat reflection from polished stainless, and the bead widened quickly. It was repairable, but avoidable.
Tip 2: Define the finish you need. For visible joints, check pulse frequency, current adjustment, and arc stability.
Tip 3: Build a realistic test plan. Use the same thickness, joint position, and filler wire used in production. Record amperage, pulse timing, gas flow, and travel speed. If the machine feels powerful but difficult to control, it may not suit your hands. Operator comfort is easy to dismiss. It should not be.
Compare Pulse Control, Arc Stability, and Welding Performance
Choosing a pulse arc welder starts with its pulse control. A useful system adjusts peak current, background current, frequency, and pulse duration. These settings influence bead width, penetration, and spatter. During shop testing, watch the puddle at low amperage and corner starts. The arc should respond quickly after pressing the trigger. Small delays can ruin thin stainless steel.
Arc stability deserves equal attention. A steady arc sounds like a controlled hiss, not repeated snapping. Test starts, stops, and short repositioning between welds. Observe whether the arc remains centered when the torch angle changes slightly. Stable output reduces cleanup and helps maintain consistent penetration. However, a quiet sound does not always prove good performance. Inspect the bead profile.
Welding performance also depends on duty cycle, wire feeding, cooling, and control layout. Try several material thicknesses before making a decision. On aluminum, check whether the pulse keeps the puddle manageable without excessive balling. On mild steel, examine sidewall fusion and crater filling. I once trusted a smooth demonstration weld and overlooked awkward controls. That mistake reminded me to test gloves on, because real work is less tidy. Keep written settings for each trial, even when the results seem obvious.
7 Tips for Choosing the Best Pulse Arc Welder? - Compare Pulse Control, Arc Stability, and Welding Performance
| No. | Selection Tip | Key Dimension to Compare | Practical Benchmark | Why It Matters | What to Verify |
|---|---|---|---|---|---|
| 1 | Match the Output Range to the Material | Rated welding current and low-current control | Approximately 5–200 A for thin stainless steel and light fabrication; 20–300 A or more for heavier sections | A suitable low end helps prevent burn-through, while sufficient peak current supports thicker joints. | Check the rated output at the intended duty cycle, not only the maximum advertised current. |
| 2 | Compare Pulse Control Features | Pulse frequency, peak/background current, and pulse ratio | Pulse frequency of about 0.5–500 Hz; adjustable peak and background current; adjustable duty balance | Independent pulse settings allow control of heat input, penetration, bead spacing, and cooling time. | Confirm that frequency, peak current, background current, and pulse duration can be adjusted separately. |
| 3 | Evaluate Arc Stability | Current regulation, arc-start performance, and response speed | Stable output during low-current operation and smooth response when torch distance changes slightly | A stable arc reduces spatter, tungsten contamination, uneven penetration, and operator fatigue. | Perform a low-amperage start test and observe whether the arc remains consistent during pulsing. |
| 4 | Check Duty Cycle for Actual Workloads | Duty cycle, test temperature, and output current | A 60% duty cycle means 6 minutes of welding in a 10-minute period at the stated test current | Higher duty cycle reduces thermal interruptions during production or long weld runs. | Compare duty-cycle figures at the current you will actually use; test conditions may differ by standard. |
| 5 | Select the Correct AC/DC Capability | Output type and waveform control | DC is suitable for steel, stainless steel, and copper; AC is generally required for aluminum and magnesium cleaning action | The correct polarity and waveform improve oxide removal, penetration, and weld-pool control. | For aluminum work, verify AC frequency, AC balance, and electrode-negative/electrode-positive control. |
| 6 | Review Welding Performance and Efficiency | Power factor, efficiency, heat input, and control repeatability | Power factor of approximately 0.90 or higher is generally favorable for demanding inverter applications | Efficient power conversion can reduce input demand and help maintain consistent welding performance. | Review measured electrical specifications and compare weld samples at identical settings. |
| 7 | Consider Usability, Protection, and Serviceability | Interface, thermal protection, ingress protection, and consumable compatibility | Clear digital settings, thermal overload protection, practical cable lengths, and commonly available torch consumables | Good ergonomics and protection features improve safety, uptime, and repeatability in daily use. | Check operating temperature limits, ventilation requirements, protection ratings, warranty terms, and spare-part availability. |
Note: Performance ranges are typical selection references rather than universal specifications. Always confirm the machine’s technical documentation, applicable electrical standard, and suitability for the intended material and welding process.
Evaluate Power Capacity, Duty Cycle, and Energy Efficiency
7 Tips for Choosing the Best Pulse Arc Welder
Evaluate Power Capacity, Duty Cycle, and Energy Efficiency
Choosing a pulse arc welder starts with the metal you actually weld. Thin stainless sheets need controlled low amperage, while heavy joints demand greater power capacity. Check the machine’s continuous output, not only its advertised peak current. A high peak number can look impressive but may offer little value during long welds.
Do not guess. Measure twice. Confirm the available input voltage and circuit capacity before buying. A model that overloads your workshop circuit creates downtime and safety concerns. The duty cycle also deserves close attention. A 60% duty cycle at 200 amps means six minutes of welding within ten minutes. In practical work, allow extra cooling time. Real conditions are often harsher than laboratory ratings.
Energy efficiency affects operating cost and heat buildup. Look for efficient power conversion, idle-mode reduction, and clear electrical specifications. Better efficiency can reduce wasted electricity during repeated jobs. However, efficiency should not replace arc stability or serviceability. Inspect the cooling vents, torch connections, control layout, and replacement-part availability. A complicated interface may slow a beginner, even when the specifications look excellent. My own evaluation habit is imperfect: I sometimes focus too heavily on output power. Actual weld samples, thermal behavior, and operator comfort reveal more than a specification sheet. Ask for a demonstration when possible, and compare results using the same material thickness, joint design, and shielding conditions.
7 Tips for Choosing the Best Pulse Arc Welder
Compare representative duty-cycle ratings and energy-efficiency levels across common pulse-welding equipment categories.
Values are representative midpoints of commonly published specifications for generic equipment categories, not manufacturer-specific ratings. Always verify the actual datasheet and applicable test standard before purchase.
Check Torch Design, User Controls, and Safety Features
7 Tips for Choosing the Best Pulse Arc Welder
Check Torch Design, User Controls, and Safety Features
When choosing a pulse arc welder, inspect the torch design before studying its advertised power. A slim, balanced torch reduces wrist strain during long stainless-steel seams. Check cable flexibility, trigger placement, grip temperature, and access around tight corners. Air-cooled torches suit lighter work, while liquid-cooled designs handle repeated high-current cycles. Ask whether replacement parts are easy to identify. I once ignored cable stiffness, and precise starts became tiring by afternoon. That mistake still shapes my checklist.
User controls should feel clear through gloves. Look for separate settings for peak current, background current, pulse frequency, and duty cycle. A readable display helps repeat a weld after a break. Saveable programs can reduce setup errors, but do not trust presets blindly. Material thickness, joint fit-up, and shielding gas still matter. Test the foot pedal or remote control before buying. Small delays can ruin a delicate arc. Keep it simple.
Safety features deserve hands-on inspection. Choose overload protection, thermal shutdown, stable grounding connections, and clear fault indicators. Confirm the machine supports suitable protective equipment and ventilation practices. Torch insulation should remain intact near the nozzle and trigger. Check the duty-cycle rating under your actual workload, not an ideal brochure condition. I prefer equipment that limits risky output changes, although sensitive protection can interrupt production. Read the manual, inspect the work area, and consult a qualified technician when specifications remain unclear.
Assess Maintenance Needs, Accessories, Warranty, and Overall Value
Choosing the Best Pulse Arc Welder: 7 Practical Tips
A pulse arc welder should match your daily workload, not only your budget. Check maintenance access before buying. Can you reach filters, cables, cooling vents, and control parts without removing half the casing? Simple access saves repair time. Ask about cleaning intervals and replacement-part availability. A neglected cooling system can turn a reliable machine into an expensive workshop problem.
Study the included accessories carefully. A torch, ground clamp, foot pedal, spare liners, and suitable connectors can change the real purchase price. Confirm their duty ratings and compatibility with your materials. Also inspect the control panel. Clear pulse settings reduce setup mistakes, especially when welding thin stainless steel or delicate joints. Test the arc response if possible. A smooth start matters more than impressive screen graphics.
Read the warranty terms line by line. Check coverage length, labor conditions, transport responsibility, and exclusions for consumable parts. Reliable support should provide technical guidance and practical service routes. Ask how quickly common repairs are handled. I once focused too much on output power and overlooked accessory costs. That was a costly lesson. Compare total ownership value over several years, including electricity, consumables, maintenance, downtime, and operator training. The cheapest welder may not be the least expensive choice.
Related Posts
-
2026 Best Pulse Arc Welder Options for Precision Welding?
-

2026 How to Use a Pulse Arc Welder Effectively?
-

How to Effectively Use Laser Part Marking in Your Business?
-
Discover the Best Handheld Laser Welders for Top Efficiency in 2025
-
What Is Aluminium Welding and How Does It Work?
-

2025 Guide: How to Choose the Best TIG Welding Machine for Your Needs